Are contacts getting iMessage from an email address rather than your phone number? Quickly fix the issue by following these easy instructions from your iPhone or MacBook. iMessage is one of the amazing and unique services available to Apple device customers. However, if you have numerous addresses associated with your Apple ID account, an iMessage may be delivered from your email rather than your phone number. Fortunately, the problem is minor and will take a minute of your time to resolve so that you may start sending iMessage from your phone number instead of email. You may address this issue from both your iPhone and your macOS device. So, without further ado, let’s start with the iPhone and then go on to fix the issue on your MacBook.
The iMessage Sending From Email Instead Of Phone Number? How To Fix
Change iMessage Address From Settings App On iPhone
You may change the iMessage send and receive address on your iOS device directly from the Settings app. It is fast, easy, and does not consume your important time.
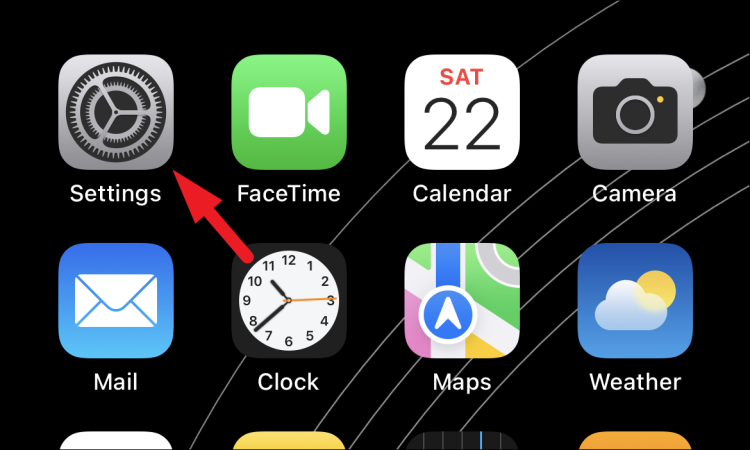
1 – Navigate to the ‘Settings’ app from your phone’s home screen or library.
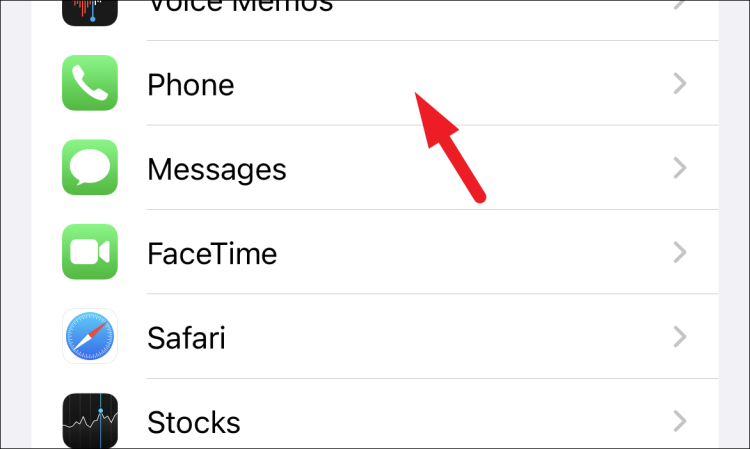
2 – Next, go to the Settings screen and tap on the ‘Messages’ tile to locate.
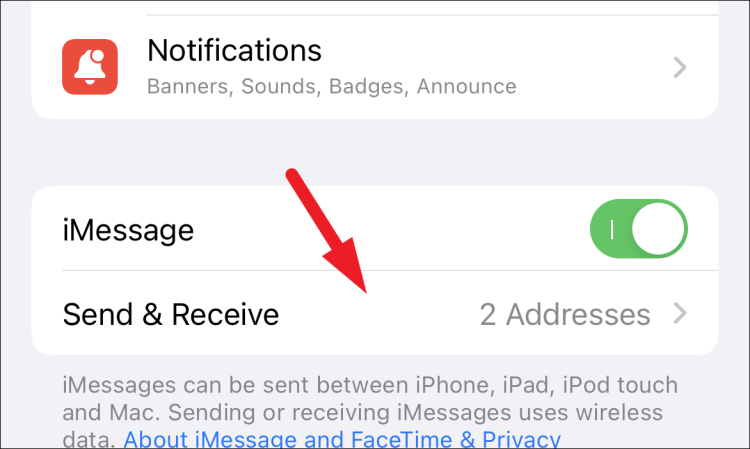
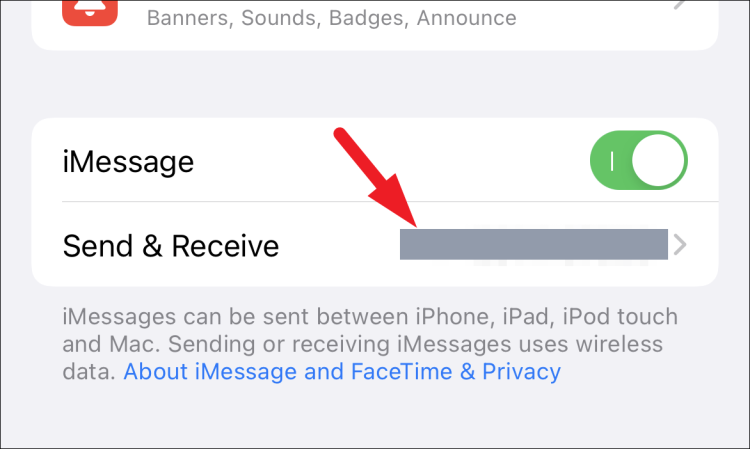
3 – Next, on the Messages settings screen, locate and select the ‘Send & Receive’ tile.
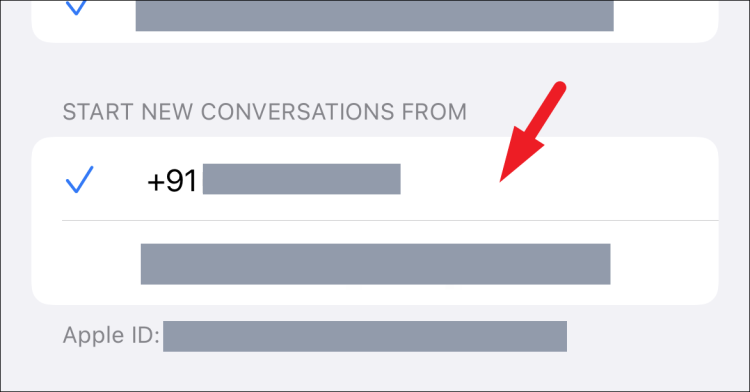
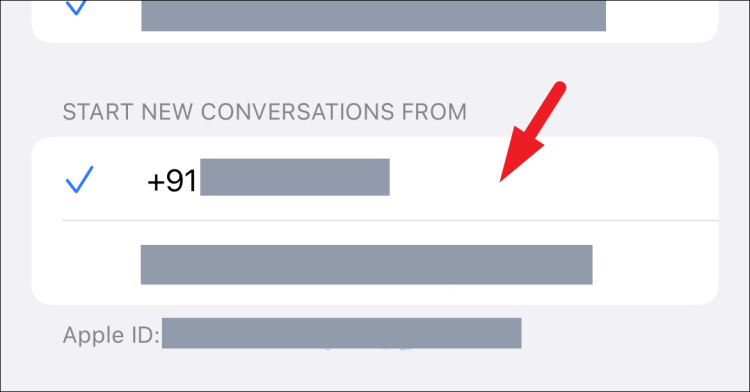
4 – Go to the ‘Start New Conversation From’ area and locate your tap number. When you select it, a blue tick indicates that the conversations will begin from your cell number.
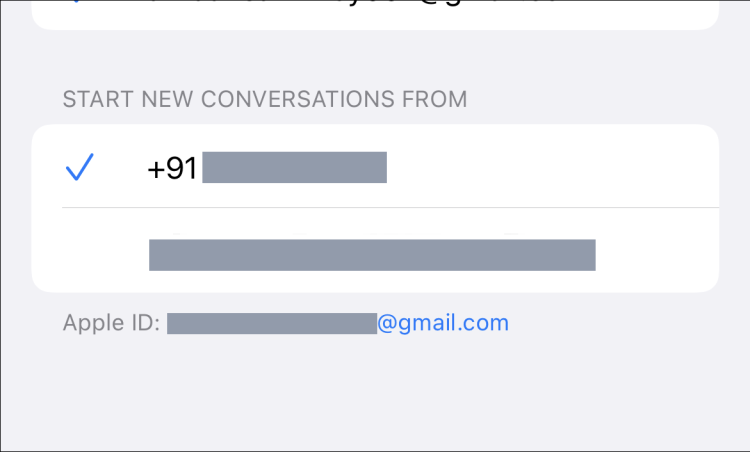
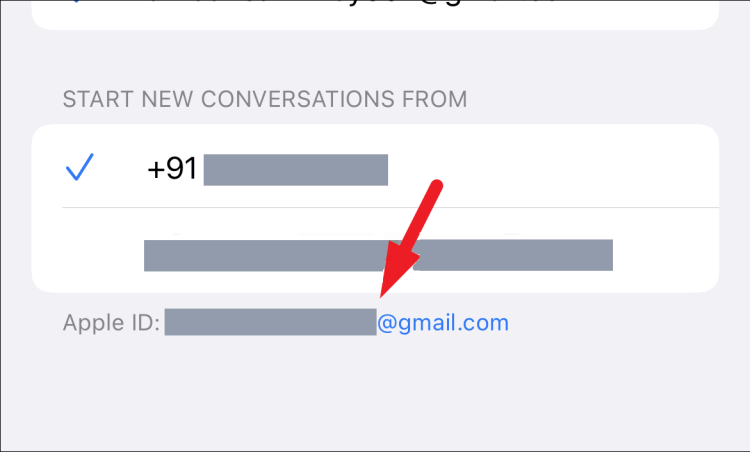
5 – If your phone number is greyed out and you cannot select it, select your Apple ID on the ‘iMessage’ settings screen. This will cause a prompt to bring on your screen.
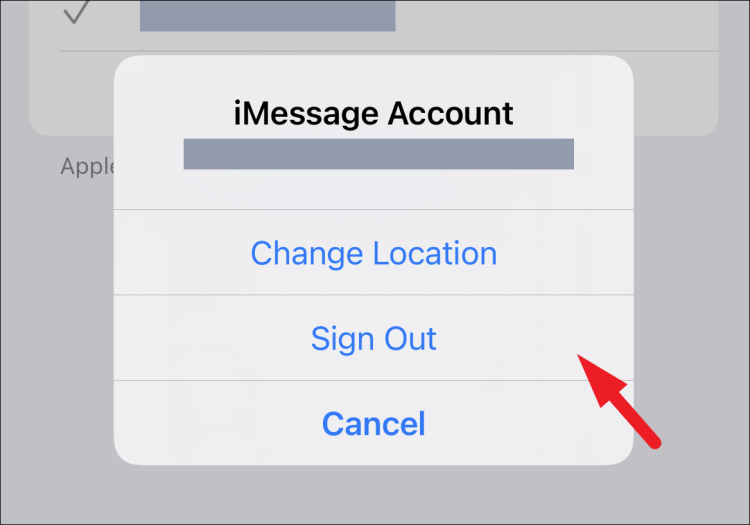
6 – To proceed, tap the ‘Sign Out’ option.
7 – To return to the previous menu, tap the ‘Messages’ icon.
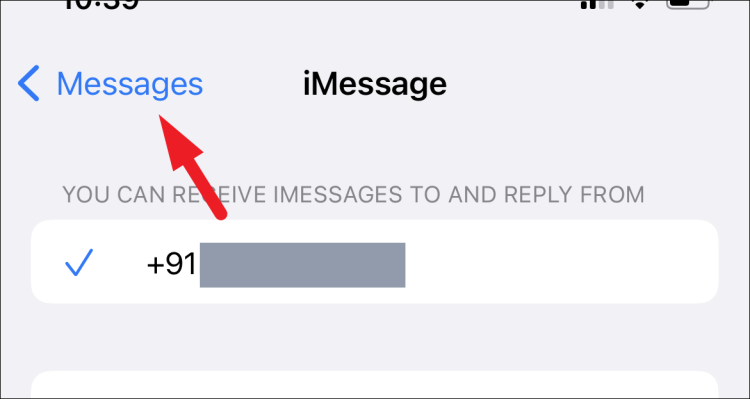
8 – Next, locate the ‘iMessage’ option and change it to the ‘Off’ position by tapping on the following toggle switch.
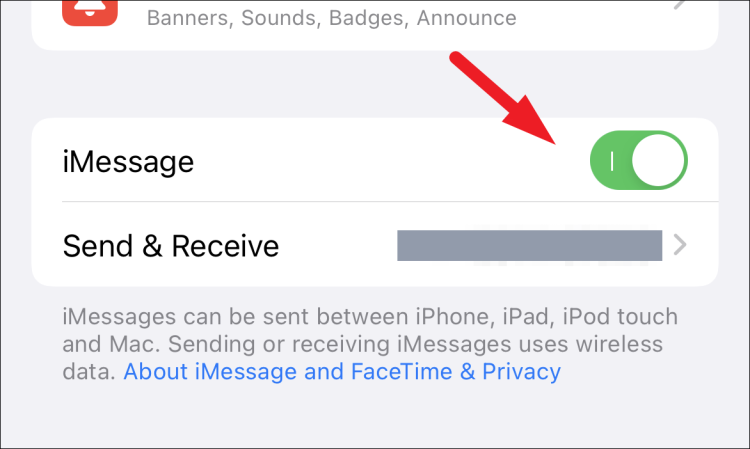
Please wait a few seconds before turning it back on. Well, it will activate in a few seconds and fill the list with the accessible addresses in your Apple ID.
9 – Once activated, tap on the ‘Send & receive’ tile.
10 – Then, under the ‘Start New Conversations From’ option, tap to select your phone number.
11 – If your iPhone does not detect your Apple ID data immediately, tap the ‘Use your Apple ID for iMessage’ button on the ‘iMessage’ screen. This will cause a prompt to bring on your screen.

12 – Tap the ‘Sign-in’ button if you want to use the same Apple ID as on your iPhone. Otherwise, tap the ‘Utilize Other Apple ID’ option to use a separate Apple ID for iMessage.

13 – After you’ve signed in, your phone number will appear in the ‘Start New Conversation From’ column. To select your number, tap it.
Now, you should be able to send iMessage from your phone number instead of an email address.
To Change iMessage Address From Messages App On MacBook
Changing your MacBook’s iMessage address is as easy as changing it on your iPhone. Some may consider this handier since you have a bigger screen and more sophisticated tools to navigate than just your finger.
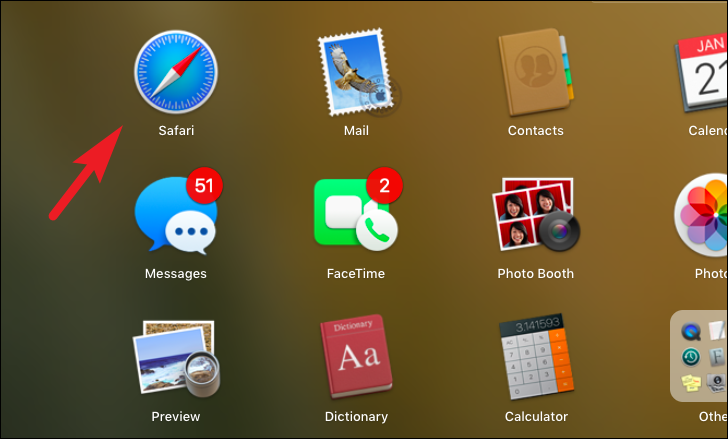
1 – To change the address in this manner, open the ‘Messages’ app from your macOS device’s dock or launchpad.
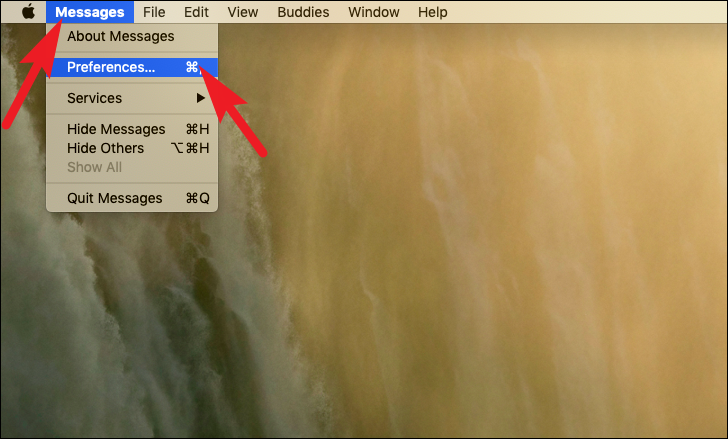
2 – To proceed, click on the ‘Messages’ item in the menu bar and select the ‘Preferences’ option. This will open a new window on your screen.
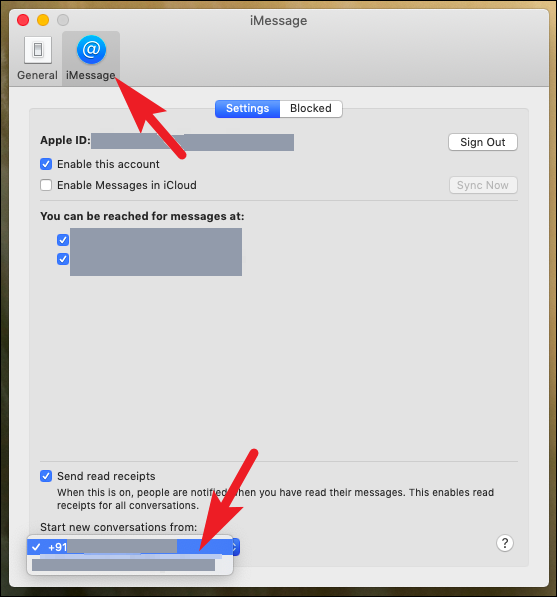
3 – Click the ‘iMessage’ tab from the newly opened window. Next, find the ‘Start new conversations from’ option at the page bottom and click it from the drop-down menu. Finally, choose your phone number from the list.
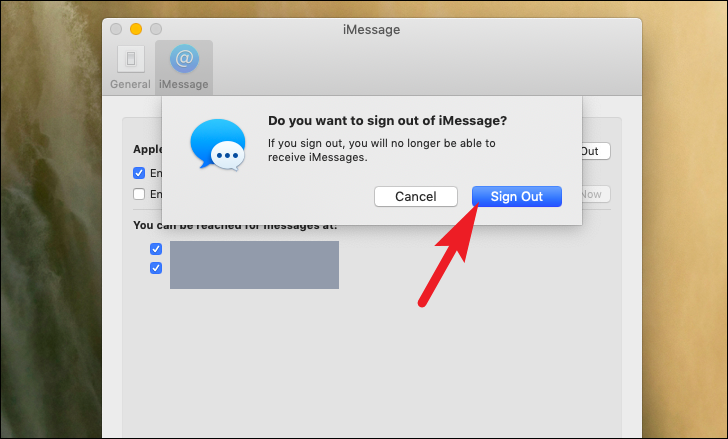
4 – If your number is greyed out and you are unable to select it, locate the ‘Apple ID’ option on the ‘Settings’ screen and click the ‘Sign Out’ button that appears after the option. This will cause a prompt to bring on your screen.
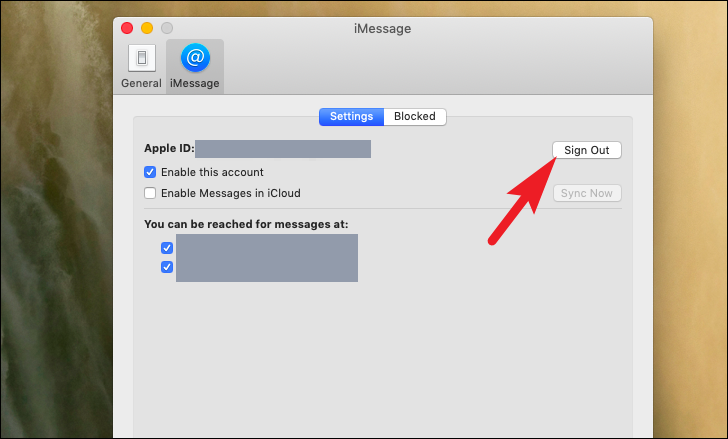
5 – From the prompt, click the ‘Sign Out’ option to confirm that you want to sign out.
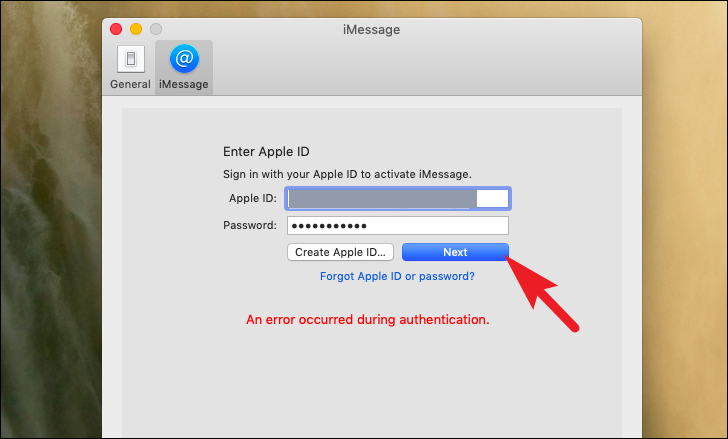
6 – After signing out, sign back in by entering an Apple ID and password and clicking the ‘Next’ button.
7 – Once signed in, locate the ‘Start new conversations from:’ option and click the drop-down menu described earlier in this instruction. You should now be able to choose a number.
Conclusion:
That’s all there is to it; this is how you can fix the problem where your iMessage is being sent from your email address instead of your phone number.


